← xd-104 confirmation certificate template Confirmation certificate 3 cake template Cake templates requested drawing template turvy whimsy topsy patterns visit sketches sketch →
Mastering the Craftsman Router Letter Template: A Step-by-Step Guide
Creating professional-looking lettering and signage with your router can be a rewarding woodworking experience. The Craftsman router letter template is a classic tool designed to simplify this process. However, using it effectively requires understanding its components and following a precise procedure. This guide provides a comprehensive, step-by-step explanation on how to get the most out of your Craftsman router letter template.
How to Use Your Craftsman Router Letter Template:
- Gather Your Materials:
Before you begin, make sure you have everything you need. This includes:
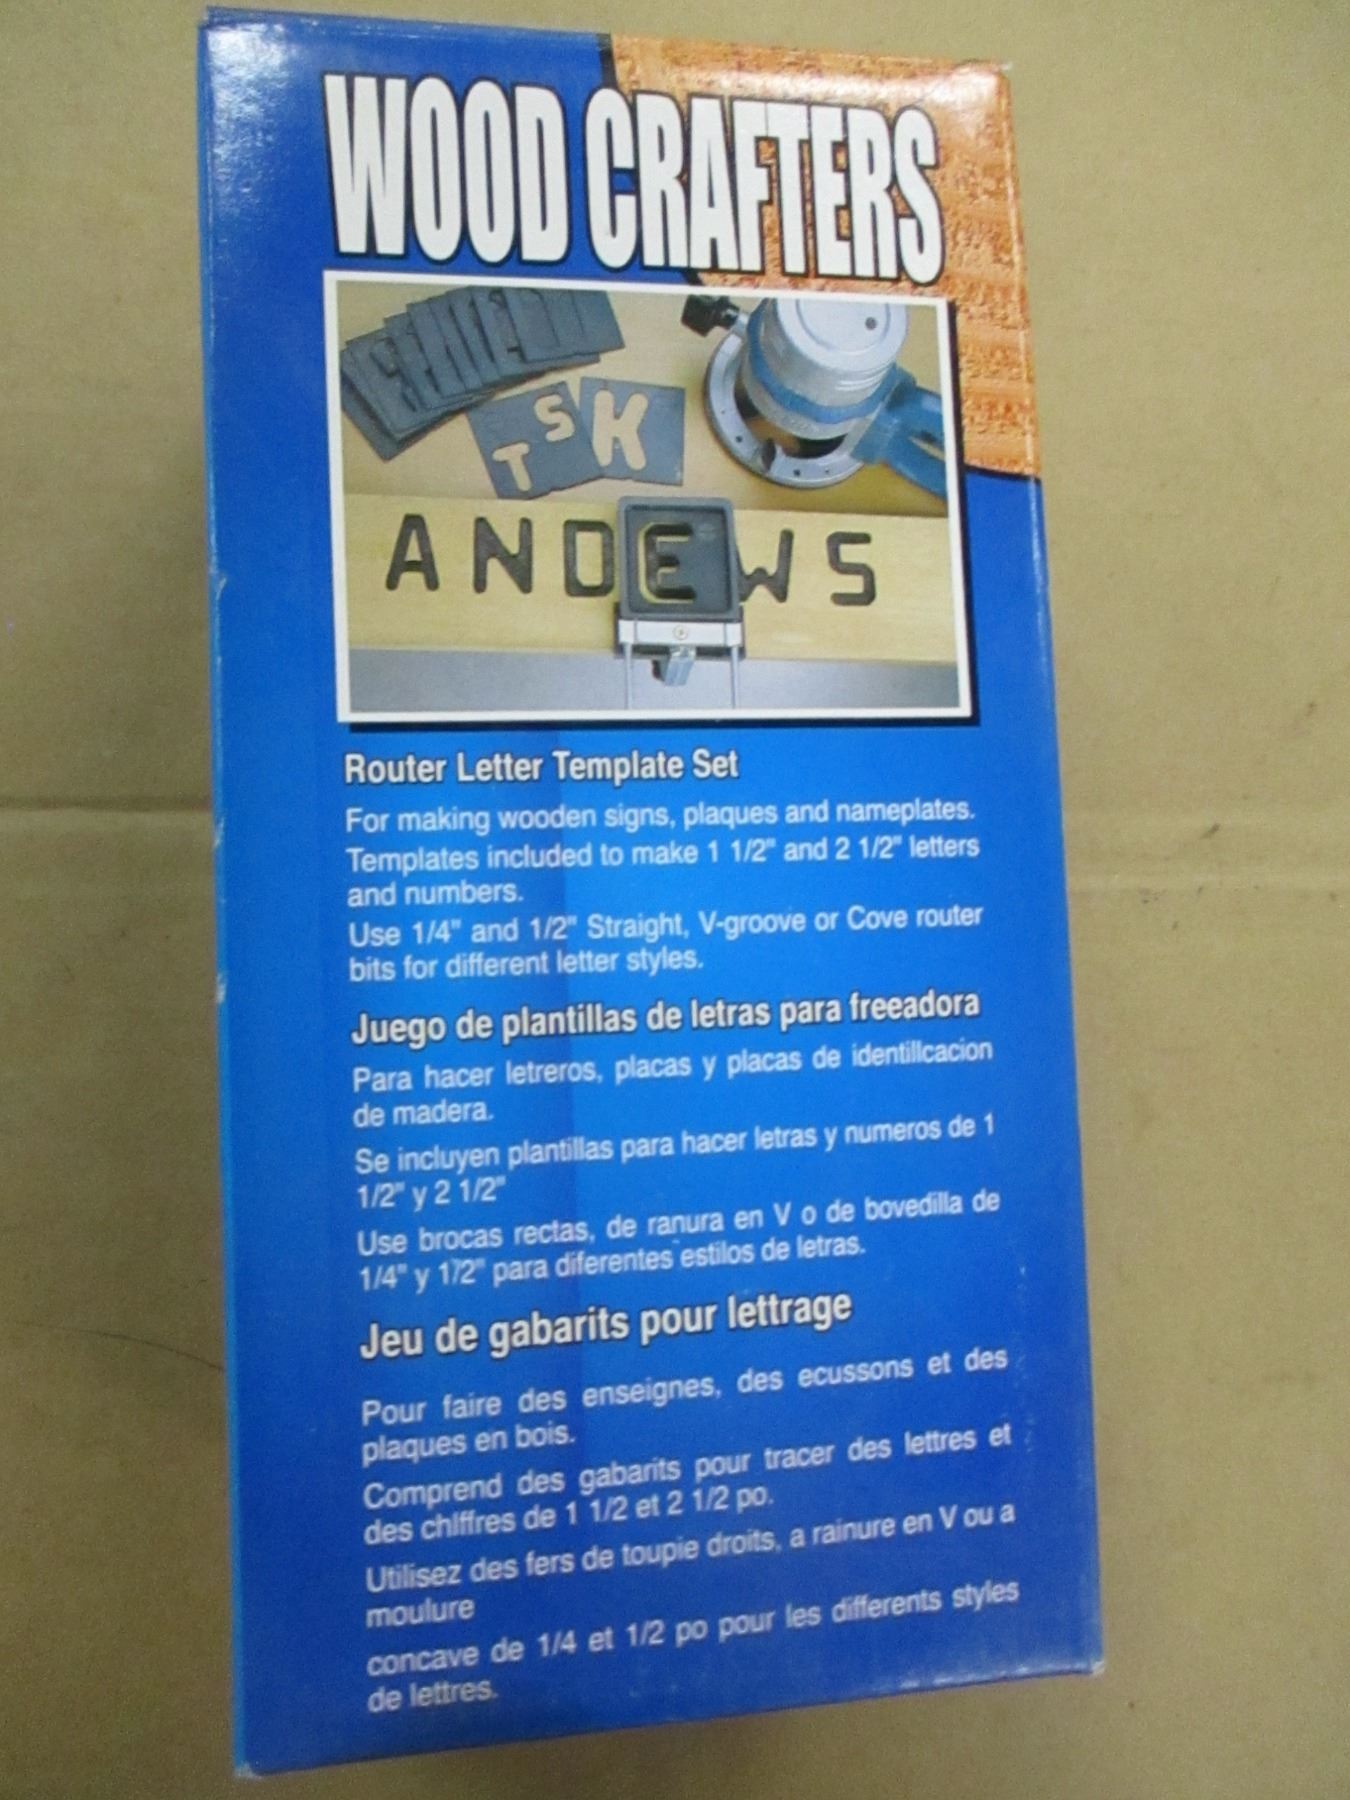
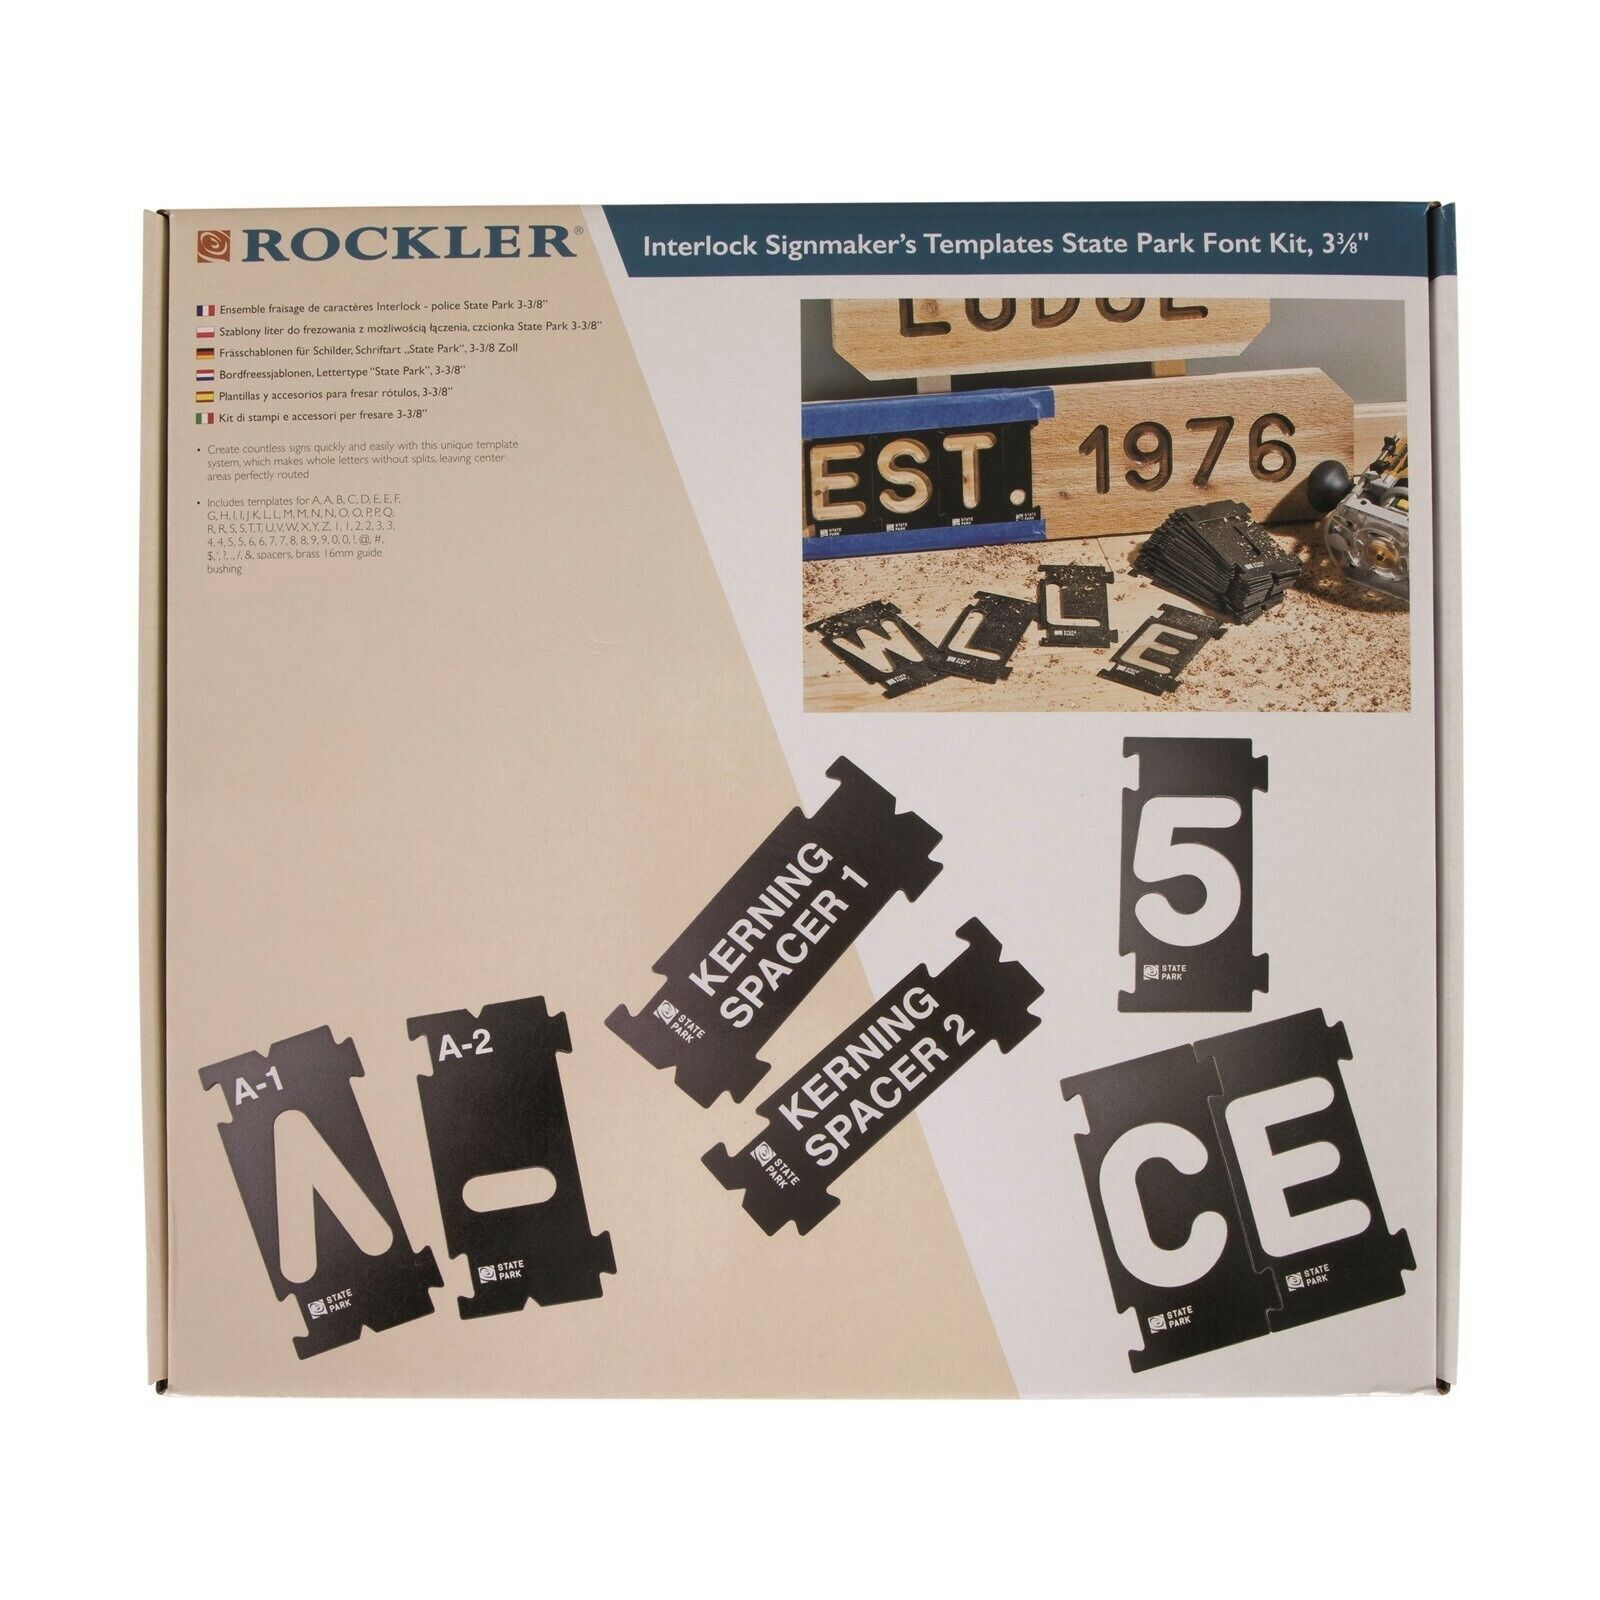
- Craftsman router letter template set (including letters, numbers, and potentially symbols)
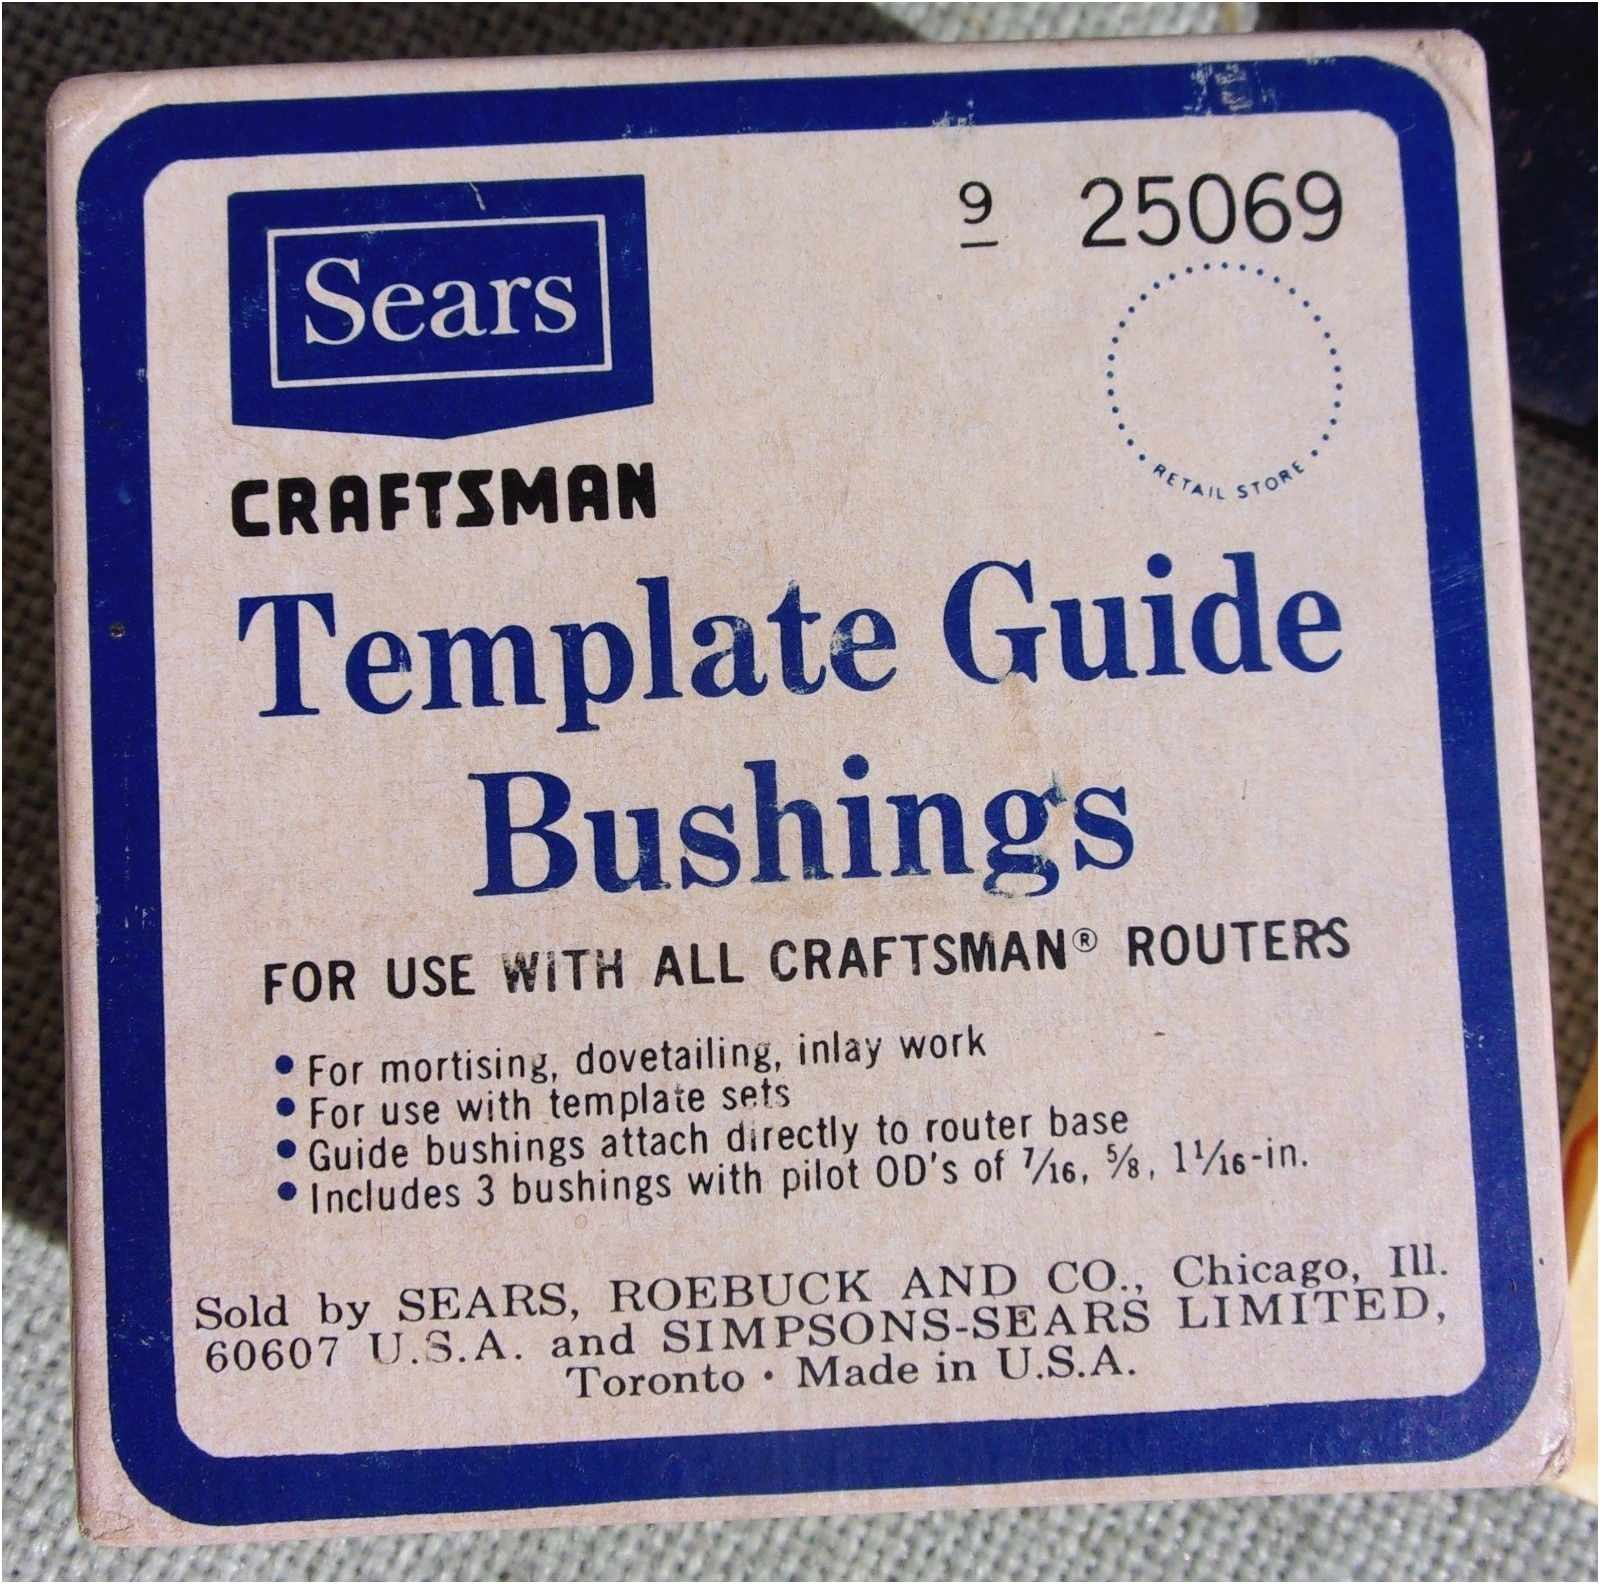
- Router (compatible with the template guide bushings)
- Router guide bushings (a set that fits both your router and the template openings; typically a selection for different letter sizes/fonts)
- Wood (the material you'll be routing – choose appropriate wood for your project)
- Clamps (to secure the template firmly to your workpiece)
- Double-sided tape (optional, for extra security in addition to clamps)
- Router bits (straight bits or V-groove bits, depending on the desired lettering style)
- Safety glasses and hearing protection (essential for any routing task)
- Pencil and ruler (for marking and alignment)
- Dust collection system (to keep your workspace clean and improve visibility)
- Scrap wood (for testing your setup and router bit depth)
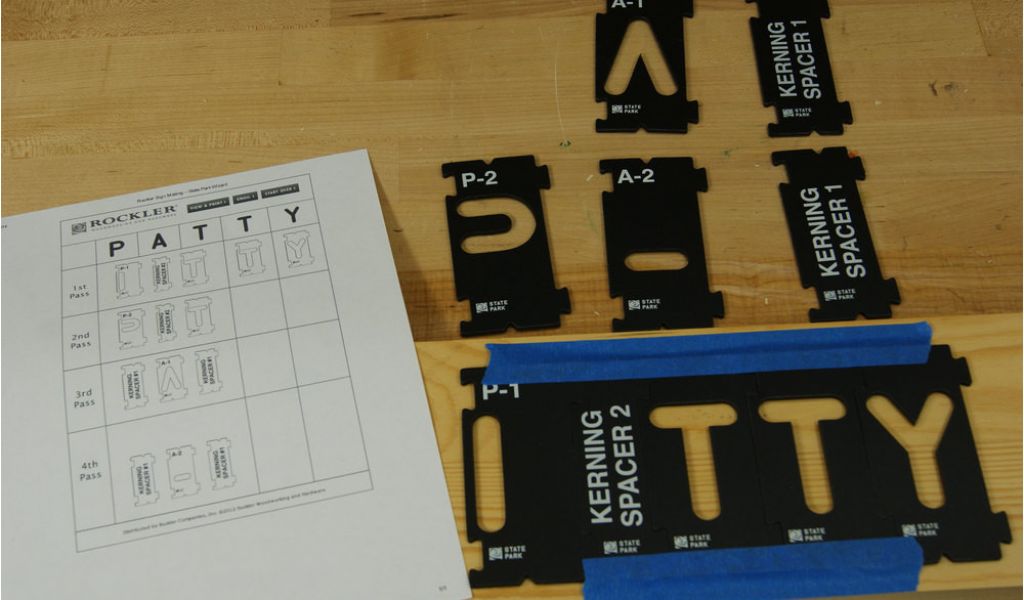
- Select and Arrange the Letters:
Carefully choose the letters you need to spell out your desired word or phrase. Arrange them in the desired sequence on your workpiece. Remember to account for spacing between letters and words. A good practice is to lightly mark the outline of each letter's position on the wood with a pencil to ensure accurate placement. Consider using a ruler to ensure your baseline is straight.
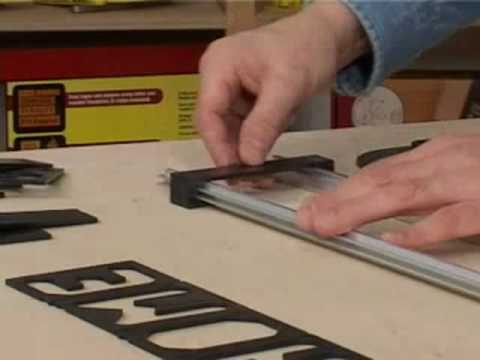
- Secure the Template:
This is a critical step for accuracy and safety. Position the letter template accurately over your marked outline, aligning the desired letter. Clamp the template firmly to your workpiece. Ensuring the template doesn't shift during routing is paramount. Use multiple clamps, especially for longer words or phrases. As a backup, you can also use double-sided tape between the template and the wood, but always rely primarily on clamps. Poorly secured templates can lead to inaccurate routing and potential accidents.
Warning: Never attempt to route without securely clamping the template. Template slippage can cause serious injury.
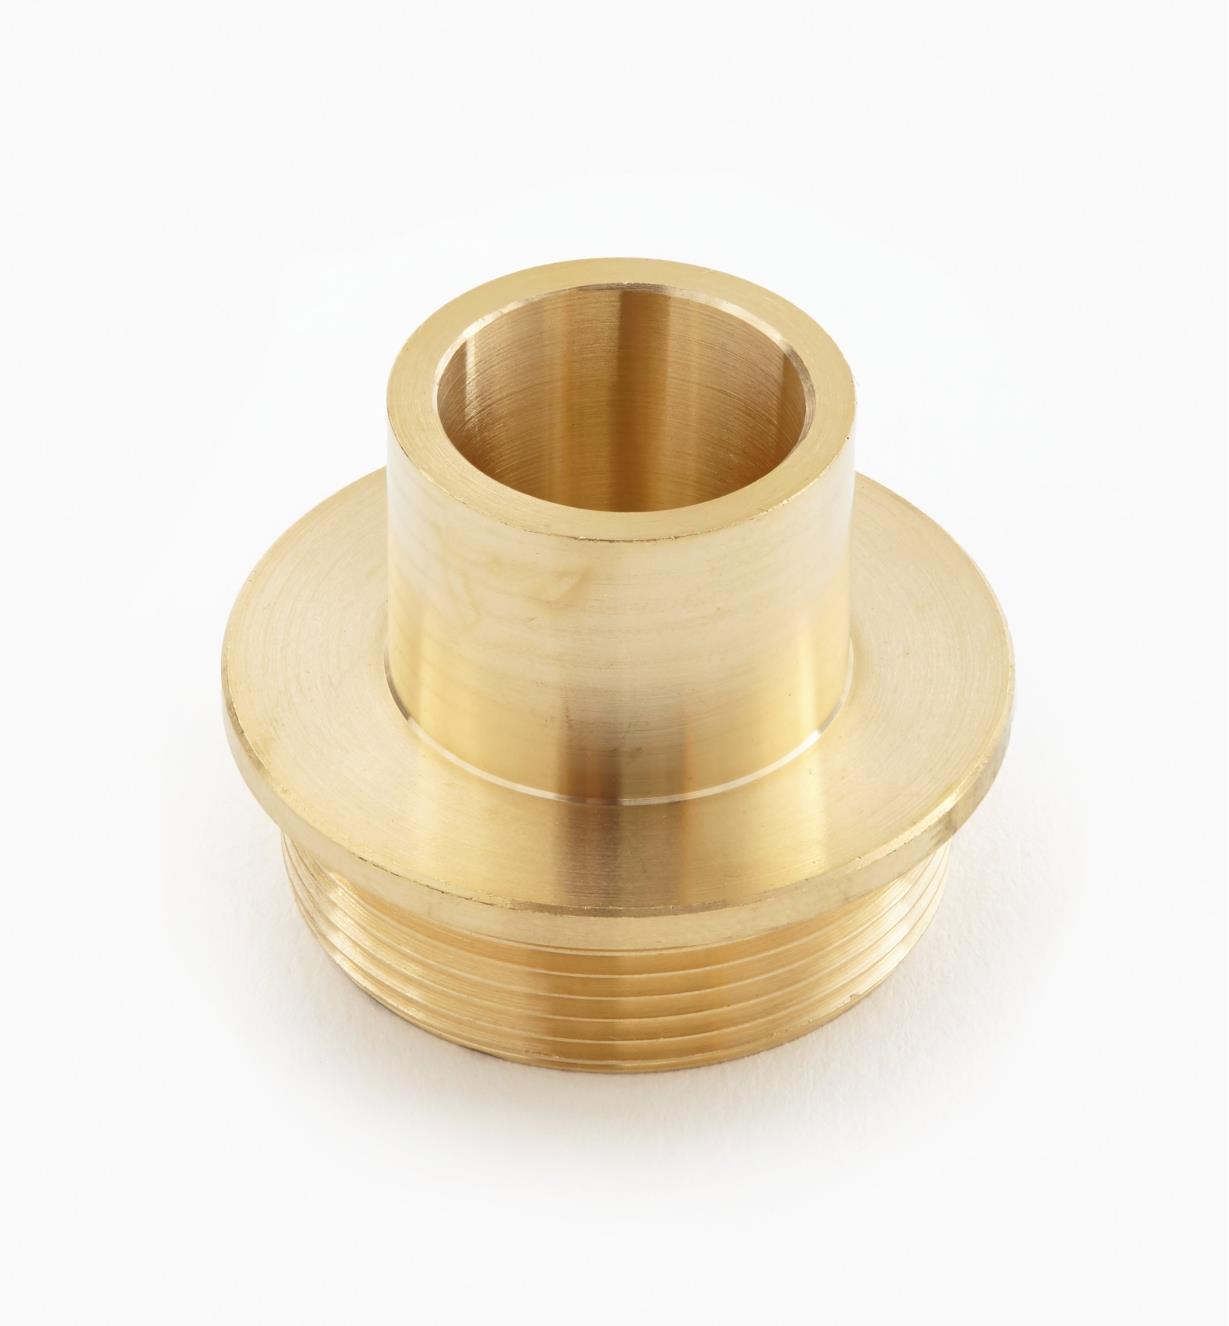
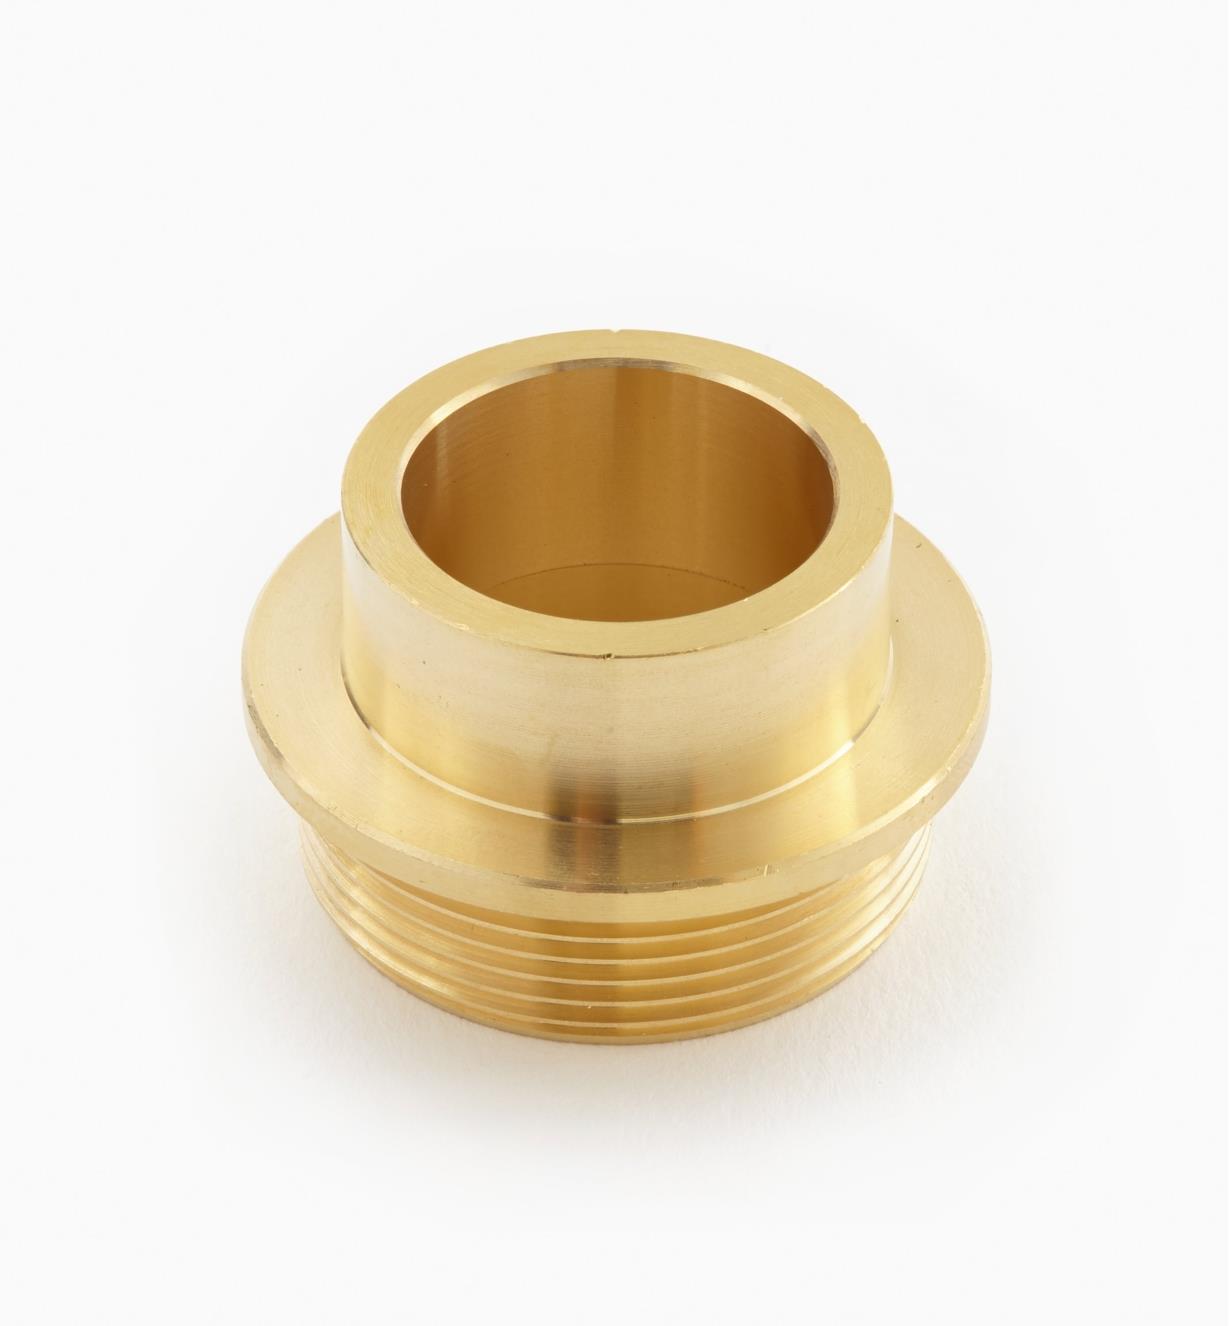
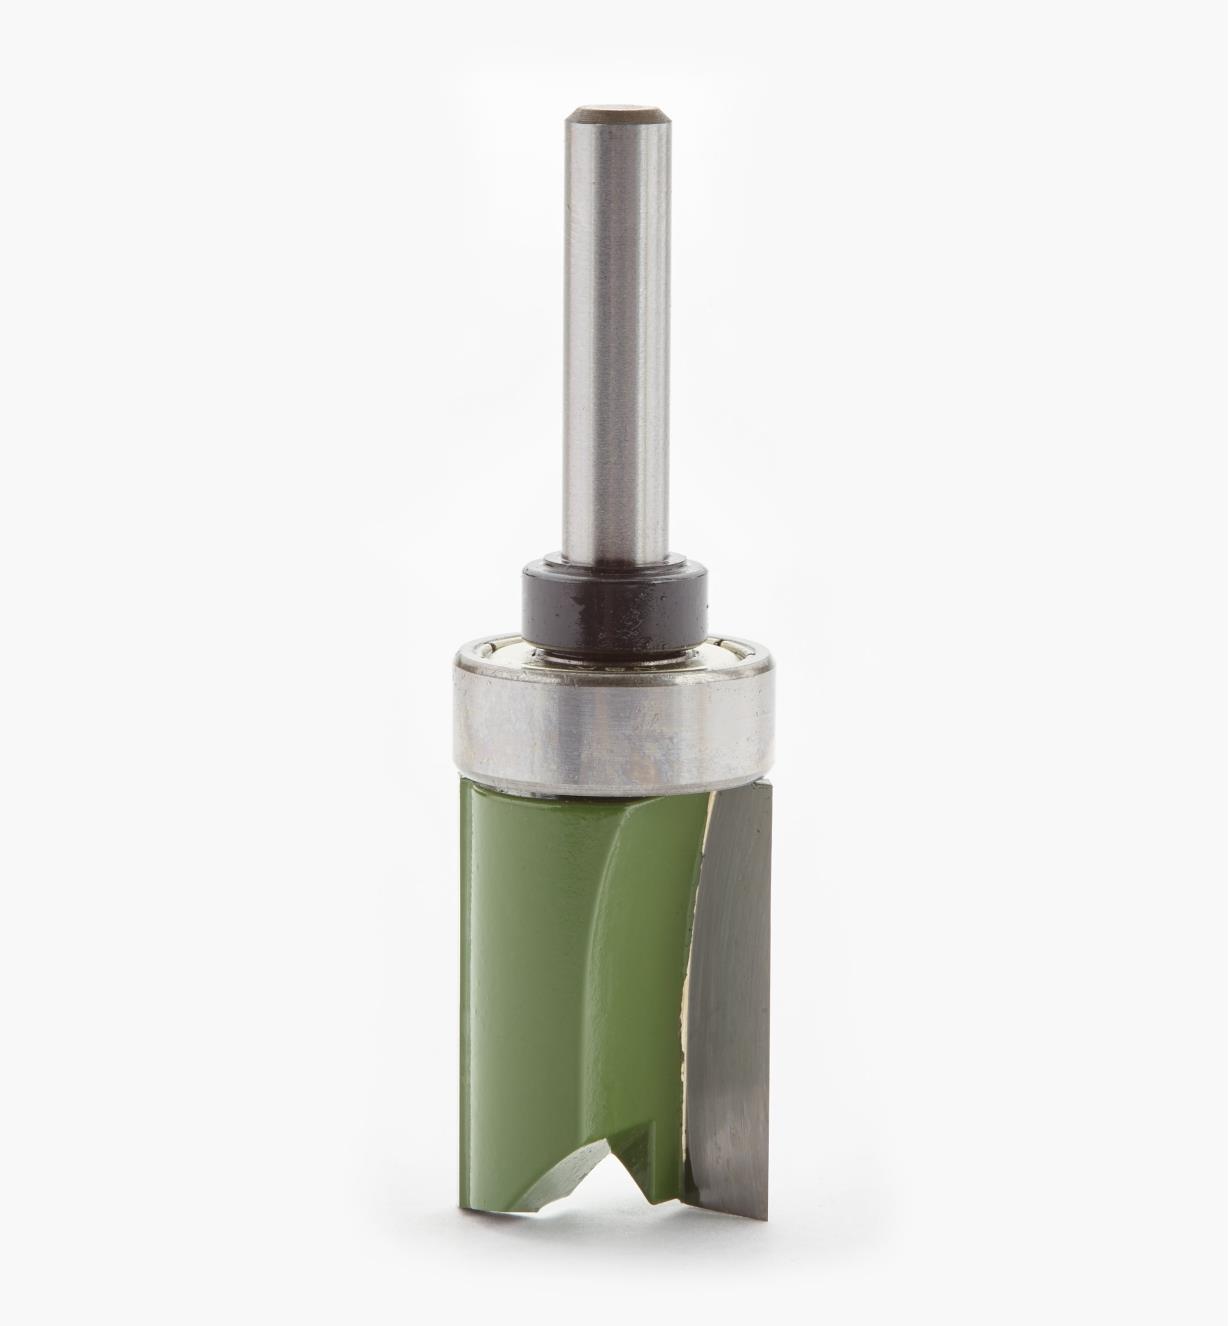
- Install the Correct Guide Bushing and Router Bit:
Refer to your router letter template set instructions for the appropriate guide bushing size for your chosen letter size and the type of router bit. Incorrect bushing/bit combinations can result in inaccurate lettering or damage to the template. Mount the guide bushing onto your router base. Install the appropriate router bit, ensuring it is securely tightened in the collet. Adjust the router bit depth. This is where the scrap wood comes in handy. Practice on a piece of scrap wood to fine-tune the bit depth until you achieve the desired cut depth. A shallow cut is generally better than a deep cut on the first pass. You can always make multiple passes to achieve the desired depth.
Tip: Start with a shallower cut and increase the depth gradually to prevent tear-out or chipping, especially when working with hardwoods.
- Route the Letter:
With the template securely clamped and the router properly configured, you can begin routing. Hold the router firmly with both hands and maintain a steady, controlled speed. Guide the router so that the guide bushing follows the inside edge of the letter template. Maintain consistent pressure against the template to prevent the router from wandering. Generally, routing against the grain (climb cutting) can cause tear-out, so try to route with the grain whenever possible or use a spiral upcut bit. Remember to move the router slowly and deliberately. Rushing can lead to mistakes and uneven cuts. Overlap your passes slightly for a smoother finish.
- Repeat for Each Letter:
Carefully remove the template and reposition it for the next letter, aligning it accurately with your marked outline. Secure the template again with clamps. Repeat the routing process for each letter until your word or phrase is complete.
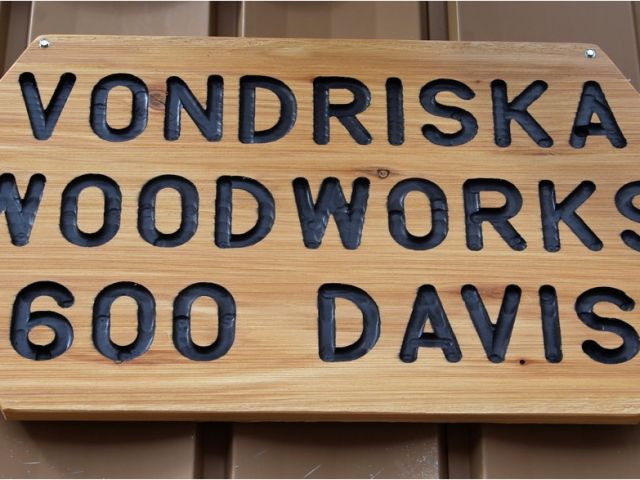
- Clean Up and Finishing:
Once all the letters have been routed, remove the template and any remaining clamps. Use a brush or compressed air to remove any dust or debris from the routed areas. Depending on the type of wood and the desired finish, you may want to sand the edges of the letters lightly to remove any sharp edges or imperfections. Finally, apply your desired finish (stain, paint, varnish, etc.) to enhance the look of your lettering.
By following these steps carefully, you can create professional-looking lettering and signage with your Craftsman router letter template. Remember to prioritize safety and practice on scrap wood before working on your final project. Good luck, and happy routing!
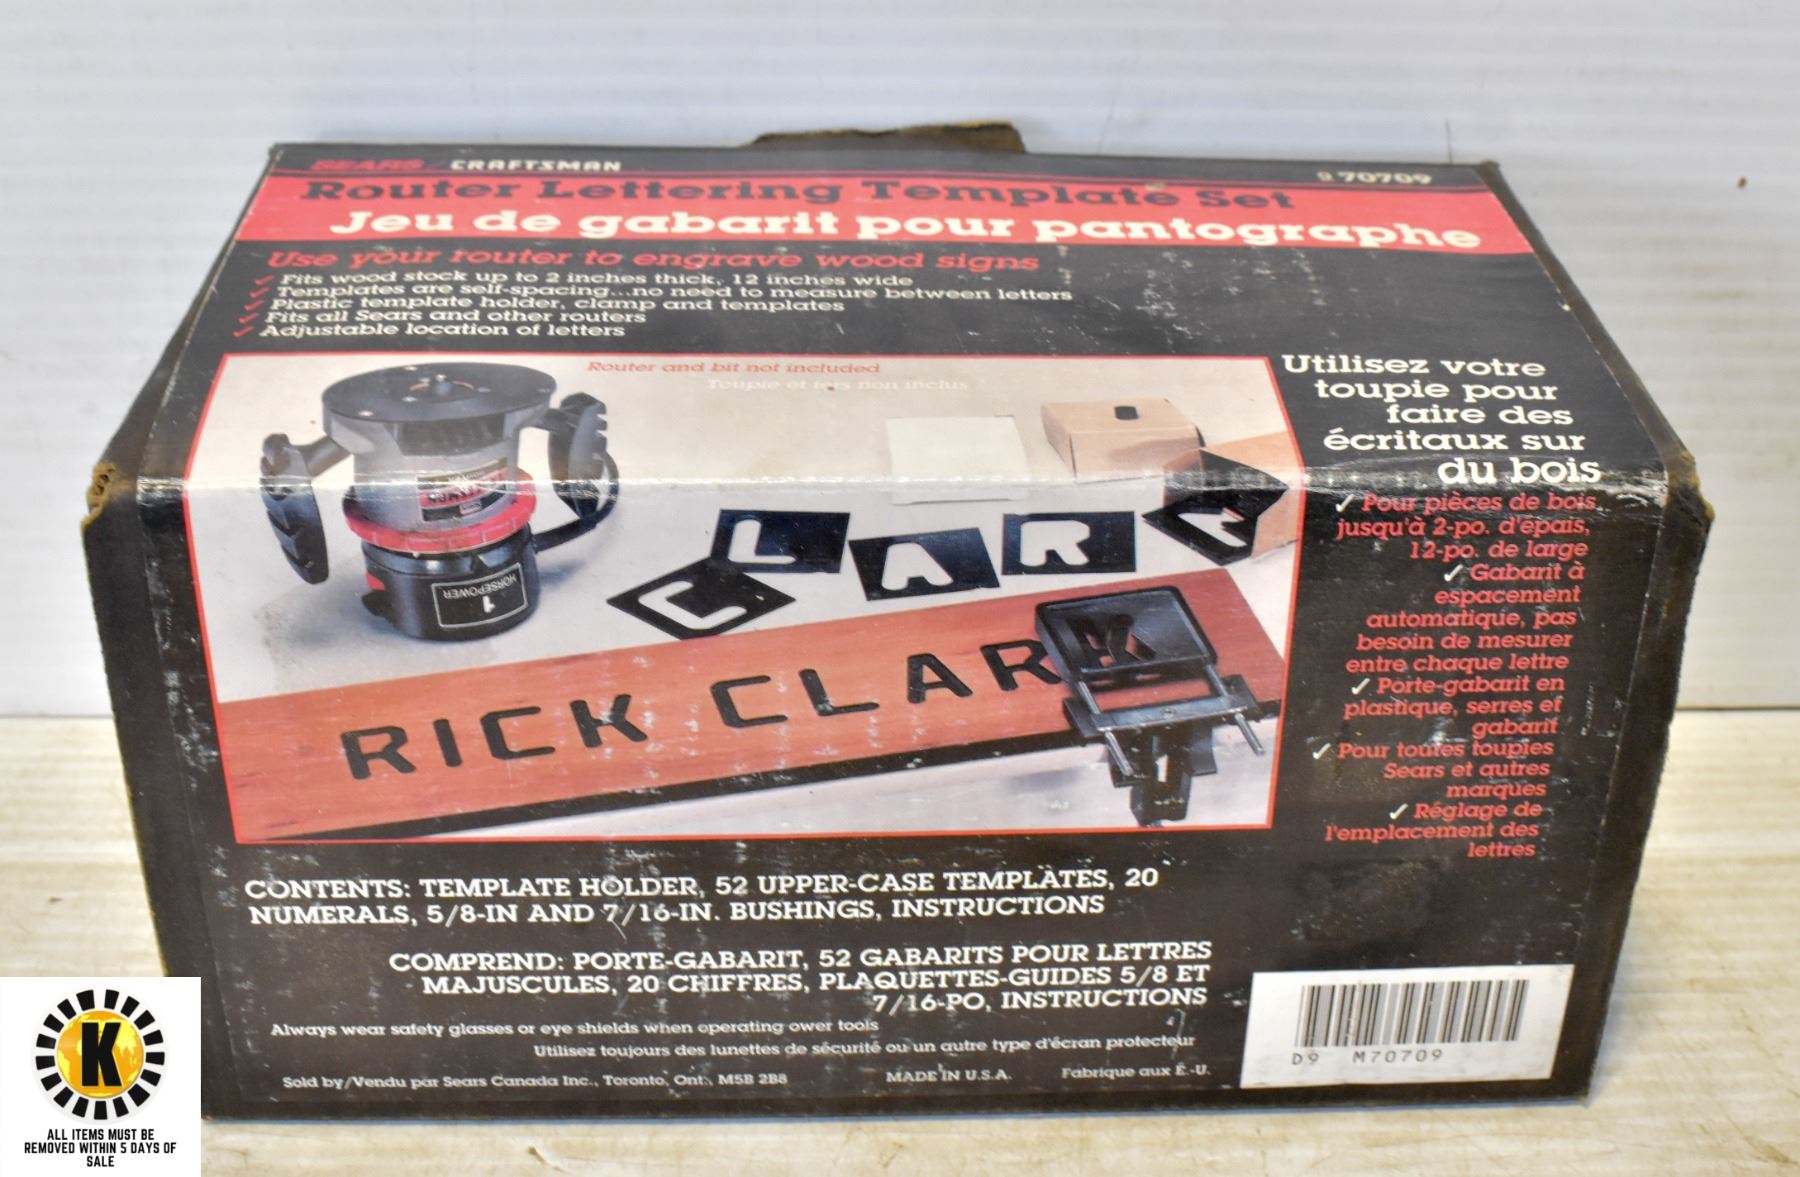
If you are searching about 2 CRAFTSMAN ROUTERS, ONE IS A 5/8 HORSE POWER, ROUTER LETTER TEMPLATE you've visit to the right web. We have 35 Pics about 2 CRAFTSMAN ROUTERS, ONE IS A 5/8 HORSE POWER, ROUTER LETTER TEMPLATE like Craftsman Router Lettering Template Set - Duck Soup Auctions, CRAFTSMAN ROUTER LETTERING TEMPLATE SET and also Router Cursive Letter Templates. Here you go:
2 CRAFTSMAN ROUTERS, ONE IS A 5/8 HORSE POWER, ROUTER LETTER TEMPLATE
 mcpherson.auctioneersoftware.com
Router Letter Templates
 www.pinterest.com
Router Lettering Template Sets Router Templates Letters Images Template
 williamson-ga.us
Router Letter Template Set – Artofit
 www.artofit.org
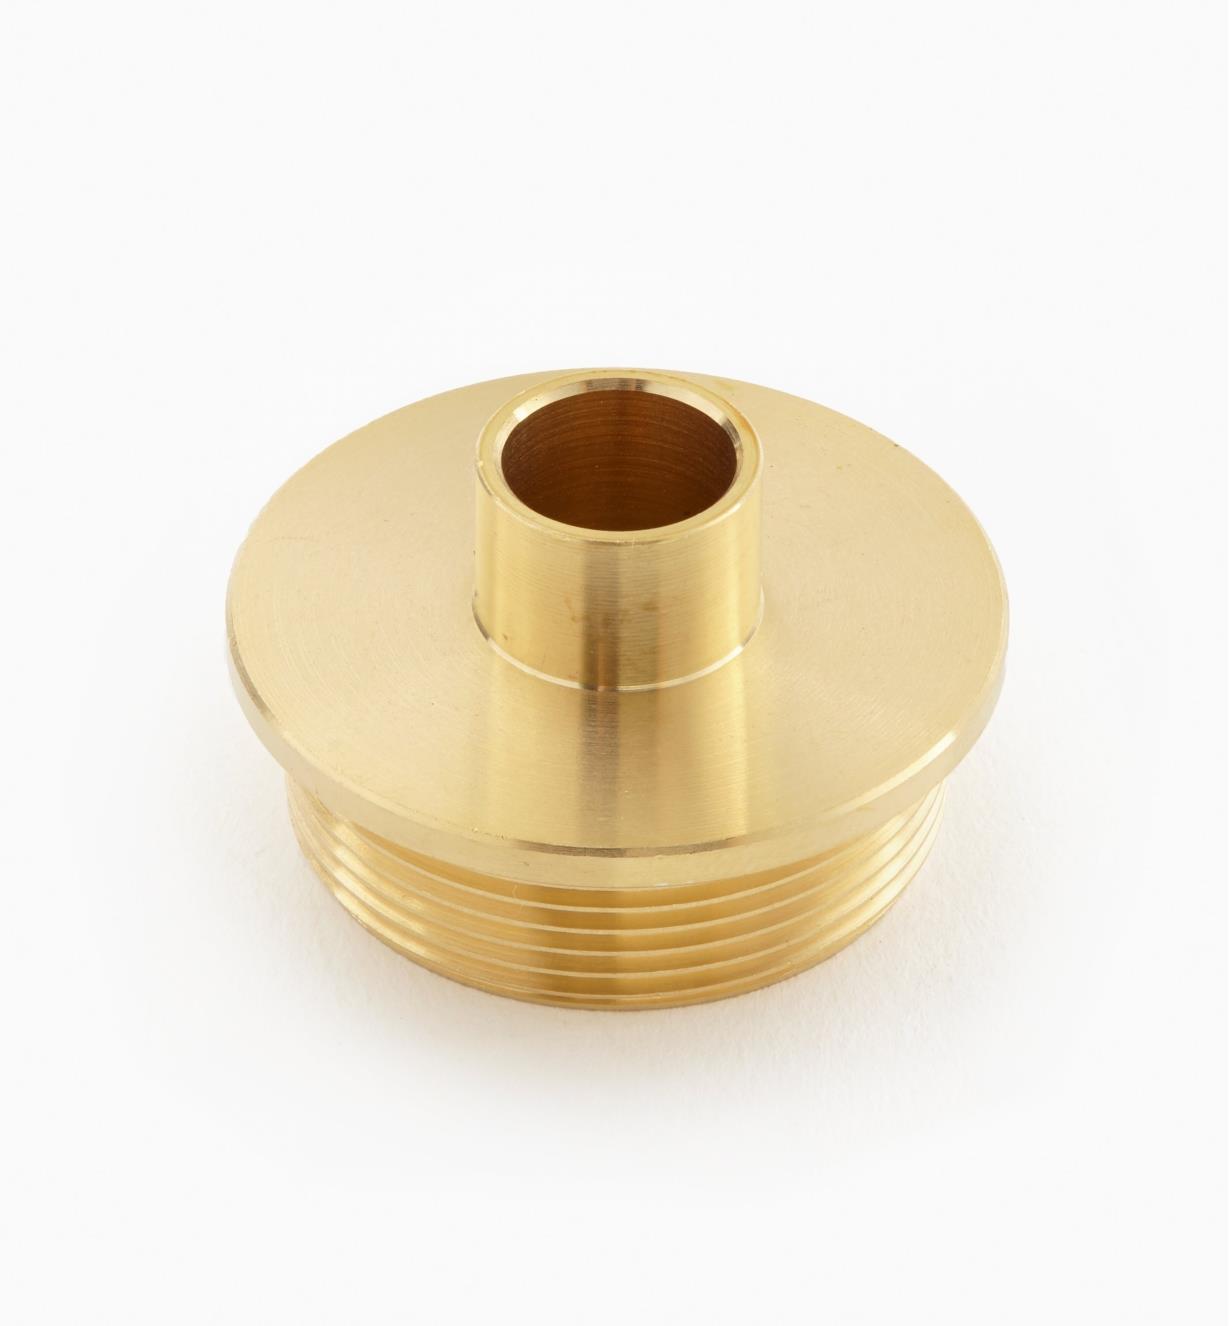
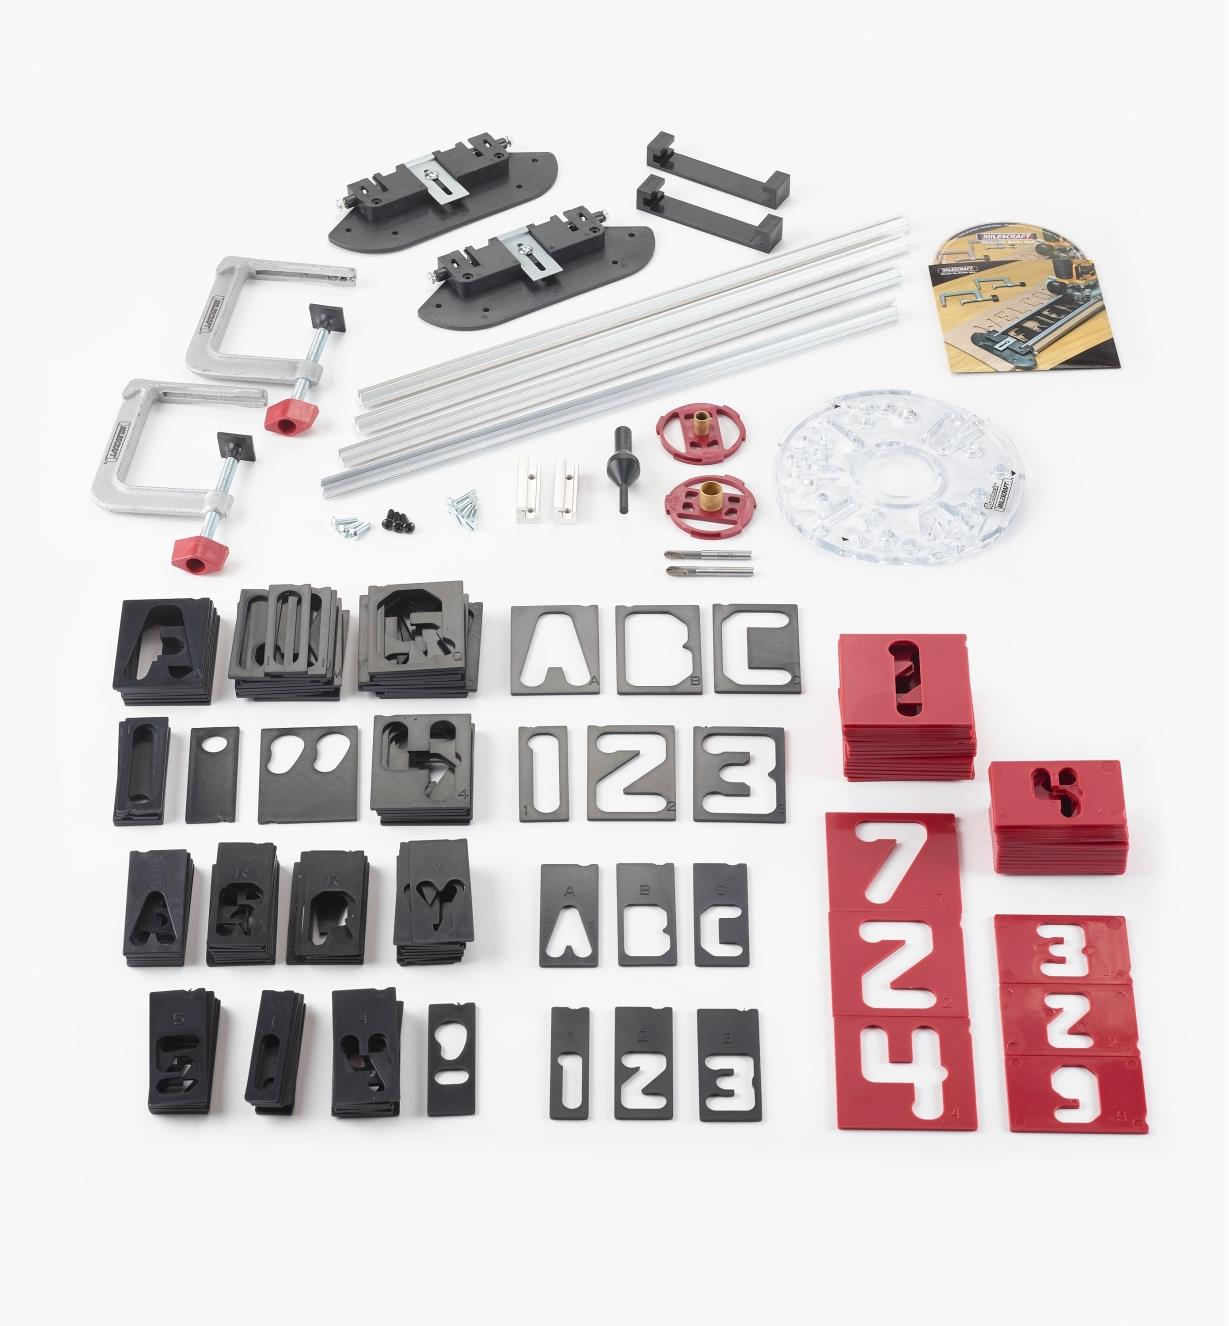
Router Letter Template Set - Lee Valley Tools
 www.leevalley.com
template router letter set guides inch brass tools
Router Letter Template Set - Lee Valley Tools
 www.leevalley.com
template router letter set
Extra Letter Sets For Router Letter Template Set | Router Letter
 www.pinterest.ca
Extra Letter Sets For Router Letter Template Set – Artofit
 www.artofit.org
Router Alphabet Templates Router Letter Templates Invitation Template
 williamson-ga.us
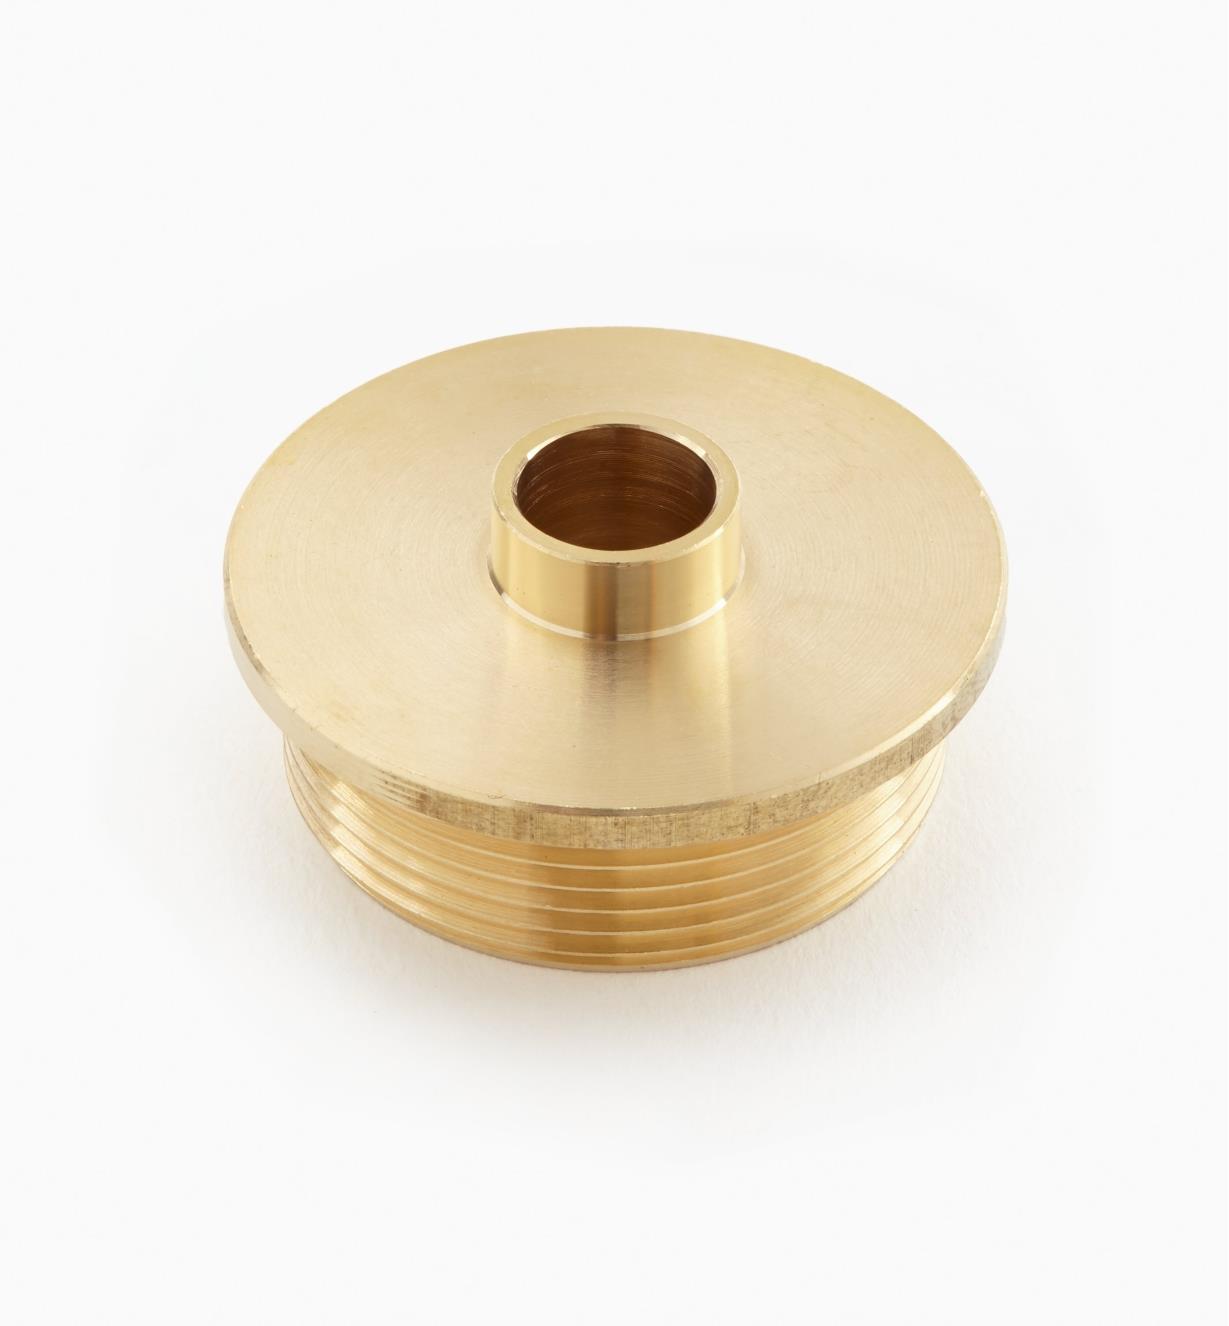
Router Letter Template Set - Lee Valley Tools
 www.leevalley.com
template router letter set brass guides
Wood Router Letter Templates – Document Samples
 documentssample.ru
router templates letter routing suitable plunge
Router Letter Templates – PARAHYENA
 www.parahyena.com
CRAFTSMAN ROUTER LETTERING TEMPLATE SET
 www.icollector.com
Router & Letter Templates - Router Forums
 www.routerforums.com
router letter templates barb can
Large Letter Router Template, Individual Letters 125mm Tall. 5mm Clear
 www.etsy.com
Router Letter Template Set | Router Letter Templates, Router Letters
 in.pinterest.com
Craftsman Router Lettering Template Set - Duck Soup Auctions
 www.ducksoupauctions.com
Download Router Letter Templates Sample Free Professional With Router
 vancecountyfair.com
Extra Letter Sets For Router Letter Template Set - Lee Valley Tools
 www.leevalley.com
router letter template set sets extra tools leevalley
Router Letter Template
 templates.rjuuc.edu.np
6 Inch Router Letter Templates
 mungfali.com
Router Letter Templates – PARAHYENA
 www.parahyena.com
Letter Templates For Router Collection
 templates.coloring.best
router routerforums
With This Template Set, Signs From 4" To 12" High And Up To 36" Long
 www.pinterest.com.au
Router Letter Templates | NC Woodworker
router letter
Router Letter Templates | Best Creative Template
 bestcreativetemplate.blogspot.com
router signs
Router Cursive Letter Templates
 old.sermitsiaq.ag
Router Letter Template Set - Lee Valley Tools
 www.leevalley.com
template router letter set brass guides
Router Letter Template Set - Lee Valley Tools
 www.leevalley.com
router
ROUTER LETTER TEMPLATE SET
 www.liveauctionworld.com
Craftsman Router Template Set Letters Numbers 2 Bits 92573 Make Wood
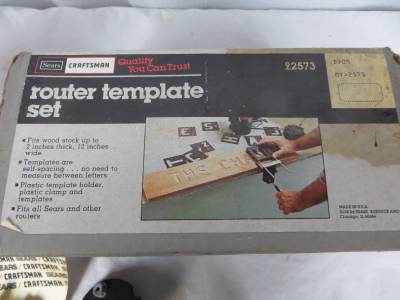 ebay.com
letters router craftsman bits template numbers signs wood set make packaging bushings sealed still two
Letter Template For Router
 printabletemplate.concejomunicipaldechinu.gov.co
Router Letter Templates – PARAHYENA
 www.parahyena.com
Extra Letter Sets For Router Letter Template Set | Router Letter
 www.pinterest.com
CRAFTSMAN ROUTER LETTERING TEMPLATE SET
 www.liveauctionworld.com
Craftsman router template set letters numbers 2 bits 92573 make wood. Router letter templates. Router & letter templates